
How to wear
Carrier guide
Three carrying positions. One carrier. Here's how to get the most from your Née.
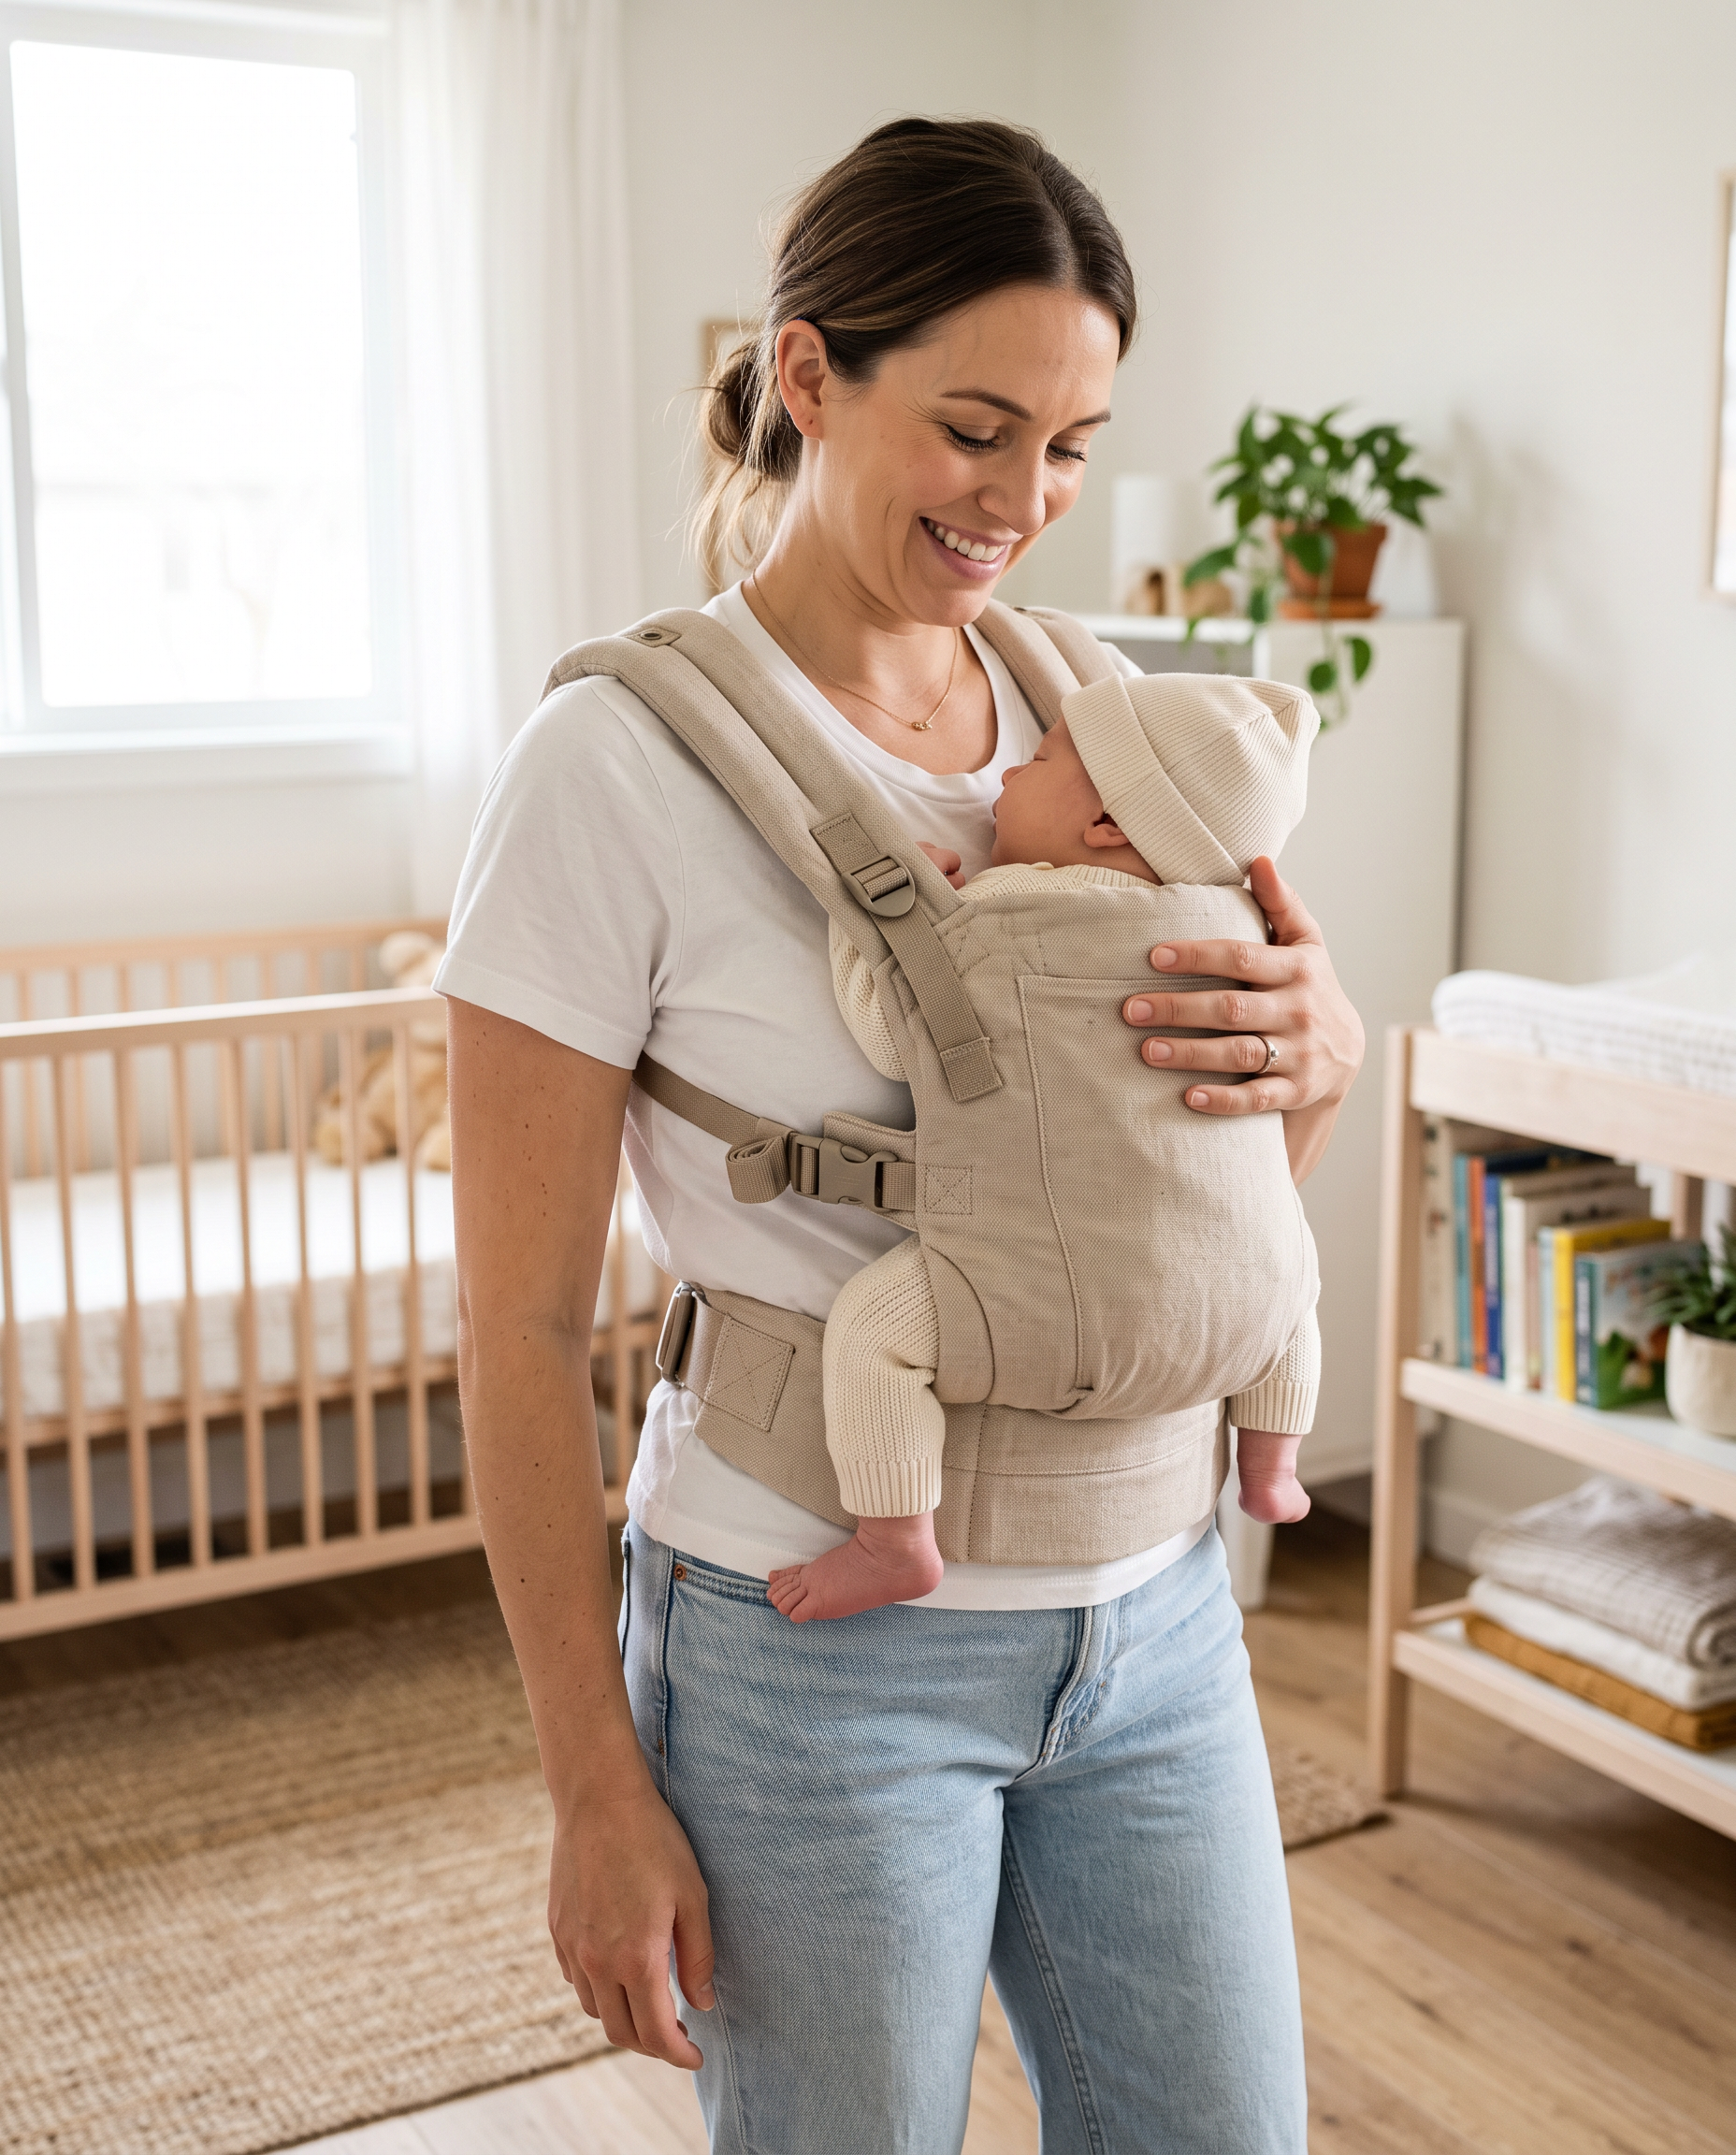
Front inward-facing
Newborn – Toddler (3.5–20 kg)
The most natural carrying position. Your baby faces your chest, close enough to kiss the top of their head. Ideal for newborns and the default position for most parents — it provides maximum closeness and security.
This position supports sleep, breastfeeding, and the skin-to-skin contact that regulates your baby’s temperature and heart rate.
How to
- Fasten the hip belt snugly at your natural waist — not your hips, your waist. This is where the weight should sit.
- Place your baby against your chest, legs in M-position (knees higher than bottom), and pull the panel up to support them.
- Reach back and click the shoulder straps into the rear buckle. You’ll hear and feel the magnetic click.
- Adjust the side straps until snug. Check: you should be able to lean down and easily kiss the top of your baby’s head.
- Slide the chest strap to mid-back height. It prevents the shoulder straps from slipping — it should be firm but not tight.
The kiss test
In any carrying position, you should be able to lean your head down and easily kiss the top of your baby’s head. If you can’t, the carrier needs tightening — your baby is sitting too low. This is the single most important fit check.
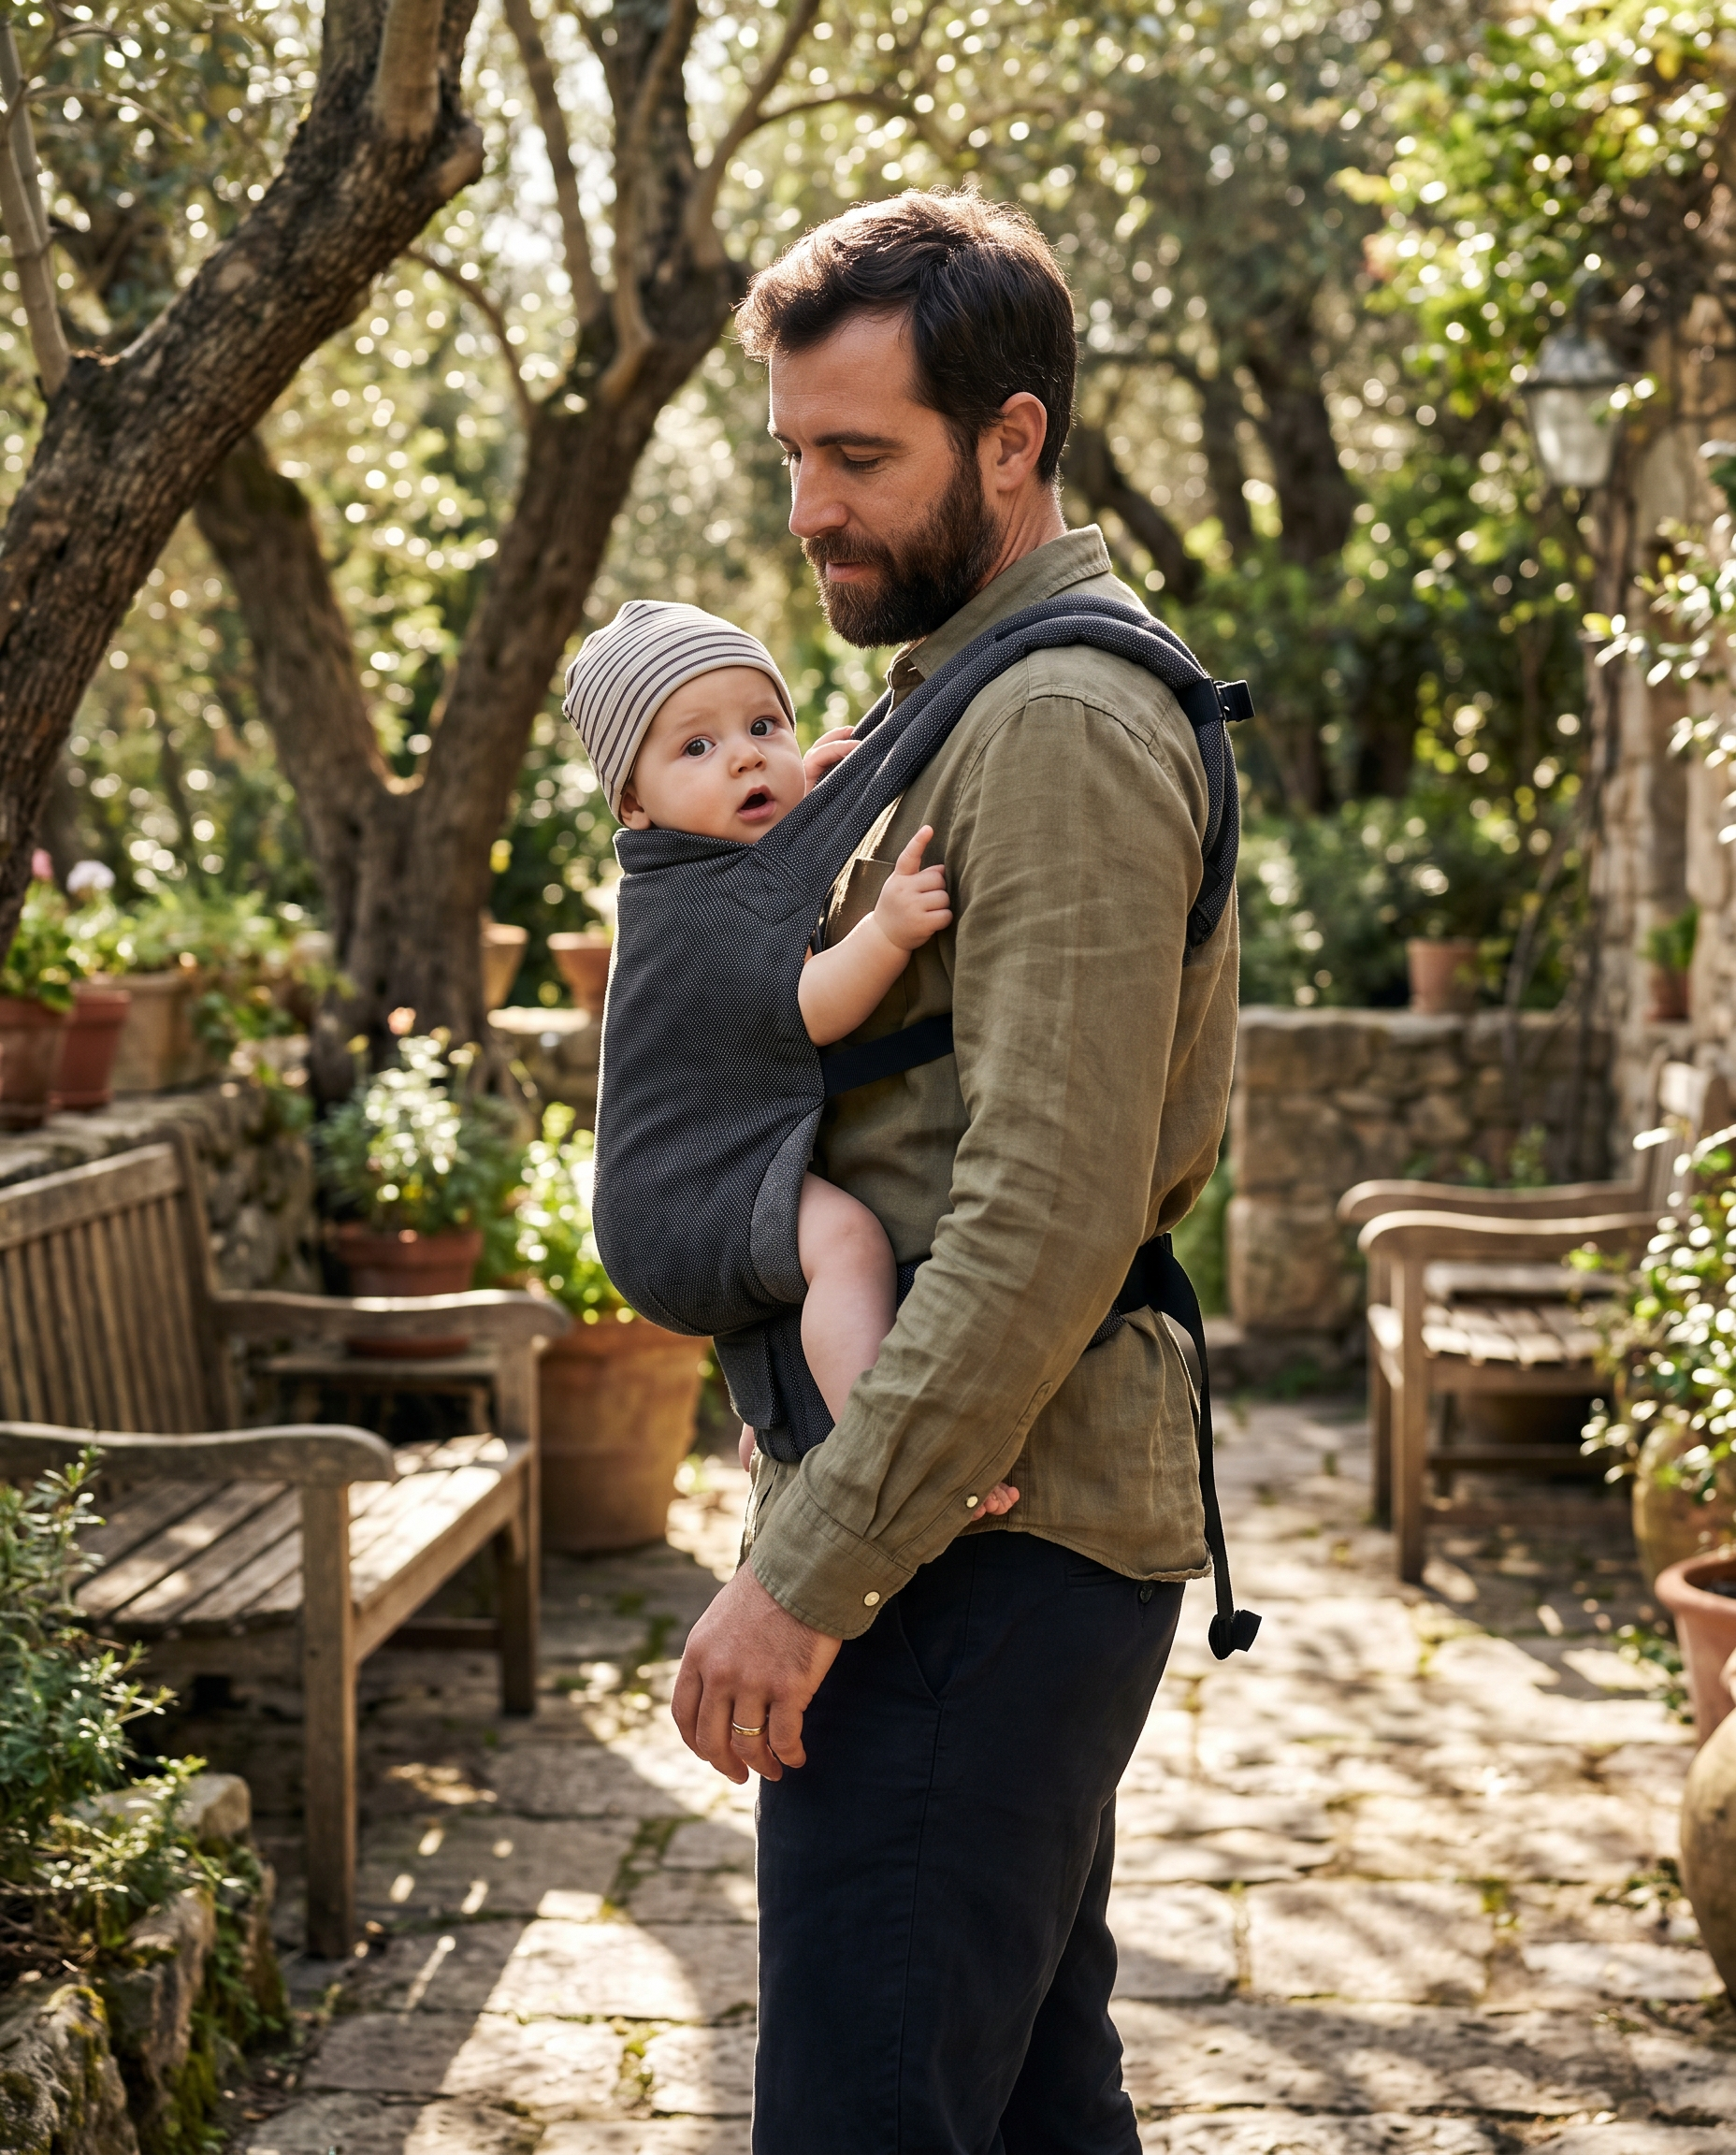
Hip carry
From 6 months (7+ kg, independent head control)
Perfect for curious babies who want to see the world. The hip position is natural and intuitive — it’s how you’d carry your child on your arm, but with the weight properly supported by the carrier instead of your bicep.
This is the most social carrying position. Your baby can see your face, watch what you’re doing, and look around at the environment. Most babies light up the first time they’re carried on the hip.
How to
- Fasten the hip belt slightly off-centre, positioned on the hip bone where you want your baby to sit.
- Seat your baby on one side with legs straddling your hip. Pull the panel up and across.
- Bring the shoulder strap over your opposite shoulder and click into the side buckle.
- Adjust until comfortable — your baby’s weight should sit squarely on your hip bone, not pulled forward or backward.

Back carry
From 6 months (7+ kg, independent head control)
For longer walks, hikes, and active days. The back carry frees your arms completely while distributing weight evenly across your entire torso. Most parents find this the most comfortable position for toddlers.
Your child can see over your shoulder, rest their head against your back when sleepy, and you have full use of both hands for cooking, shopping, or holding an older child’s hand.
How to
- Start with the carrier in the front position, hip belt fastened at your waist.
- Loosen the shoulder straps. Slide your baby around to your back — or have a partner help place them for the first few times.
- Pull the panel up to support your child’s back. Their head should be near your shoulder height.
- Click both shoulder straps at the front chest buckle and tighten until snug.
- Check: your child should sit high on your back. If they feel low, tighten the hip belt and shoulder straps.
First time? Start at home
Practice putting the carrier on a few times at home — ideally over a bed or sofa for peace of mind. It takes most parents 3–4 tries before it becomes second nature. After that, it’s genuinely under 30 seconds every time. If you’re nervous about back carries, practice the hip-to-back slide with a partner spotting you.
Shoulder pain? Check the hip belt first
If you feel pulling on your shoulders after 20+ minutes, the fix is almost never the shoulder straps. Tighten the hip belt first — it should sit at your natural waist and carry 60–70% of the weight. The shoulder straps just keep the carrier close to your body; they shouldn’t be bearing the load.
Need more help? Our babywearing guide covers fit, safety, and tips for every stage.